Salesforce CI/CD Pipeline | Bitbucket
Salesforce CI/CD Pipeline | Bitbucket
In this article, we will be setting up Bitbucket CI/CD Pipeline for Salesforce.
Prerequisites
Salesforce Extension Pack for the VS Code
OpenSSL CLI ( To check if it is installed, Use the command openssl version, if OpenSSL is installed, it will print the OpenSSL version in the terminal).
Setting up Bitbucket for Salesforce Project
Create a bitbucket Account. You can use this link for signing up
Login to the bitbucket Account you just signed up for.
Create a Bitbucket Repository.
Go to Home -> Repository. Now Click on the Create Repository to create the Bit Bucket Repository.
Fill in all the details on the new screen. Then click on Create repository button at the bottom. (I will be using the name sfdx-demo as the repository name, I recommend you use the same repository name. So that you can follow along and used the same commands that will be in the article).
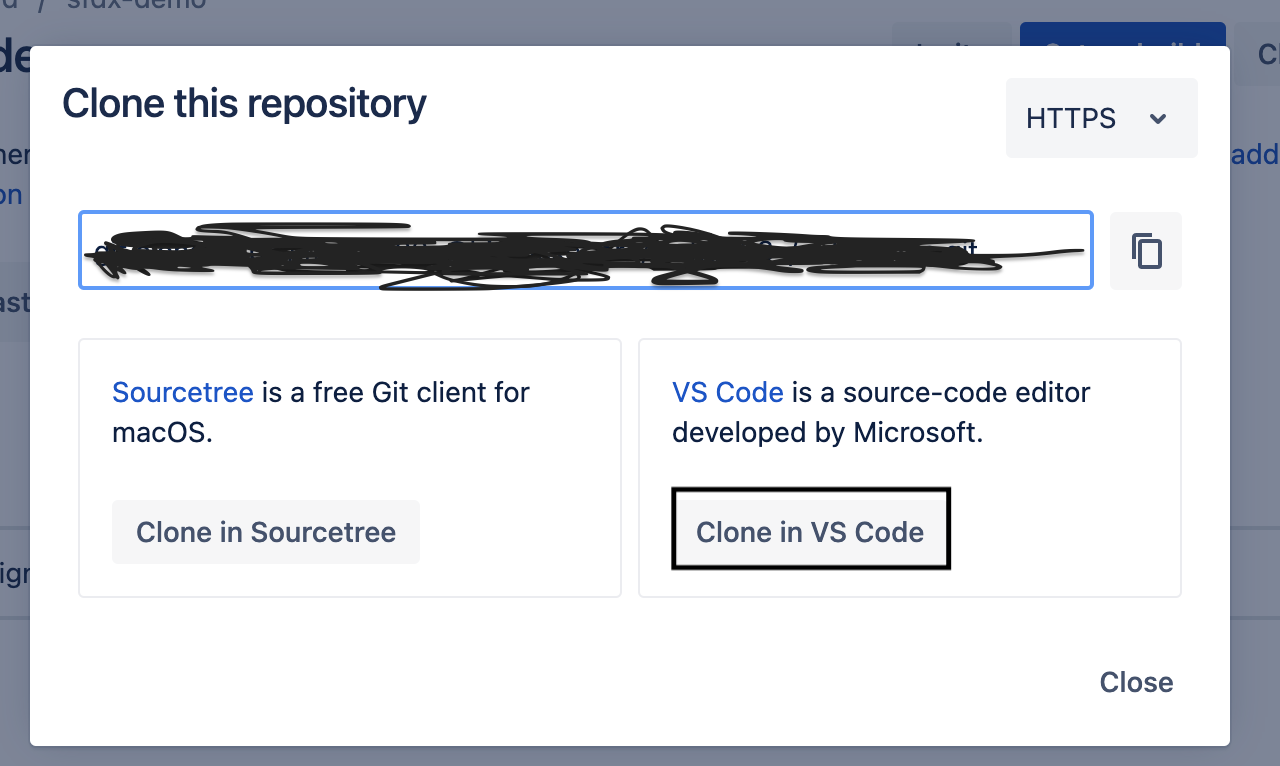
Now clone the repository in the VS Code. To do that go to your repository and click on the clone button.


Now click on the Clone in VS Code to clone this Repository in the Vs Code. Or alternatively, you can use git clone repository url in the terminal.
In my case, a folder name SFDX-DEMO is created. Now open the parent folder of git repository folder in the terminal and use the following command.
sfdx force:project:create -n sfdx-demo -x
Please Make sure to use the correct repository folder name. In my case the repository folder name is sfdx-demo. This will convert your git repo folder into a Salesforce Project FolderNow open the git Repository Folder in the VS Code. In my case Folder Name is sfdx-demo.
Now You can authorize the git repository folder with the salesforce org.
Now you can use the following commands to make your first push to the repository.
git add .
git commit -m ‘First Salesforce Project Commit’
git pushThat’s all, Now you have Successfully Setup bitbucket for the Salesforce Project.
Create a Self-Signed SSL Certificate and Private Key
Create a folder on your PC to store the generated files, Open terminal and use command :
mkdir certificatesGenerate an RSA private key, Use Command :
openssl genrsa -des3 -passout pass:<password> -out server.pass.key 2048Create a key file from the server.pass.key file using the same password from before, use Command :
openssl rsa -passin pass:<password> -in server.pass.key -out server.keyDelete the server.pass.key, Command for Mac/Linux rm server.pass.key. Command for windows del server.pass.key
Request and generate the certificate, when prompted for the challenge password press enter to skip the step, Use Command :
openssl req -new -key server.key -out server.csrGenerate the SSL certificate, Use Command :
openssl x509 -req -sha256 -days 365 -in server.csr -signkey server.key -out server.crt
Connected App Creation/Configuration
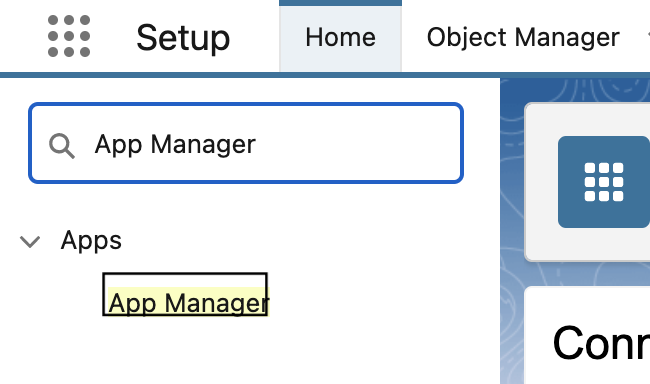
1. Open Setup, In the Quick Find Box, Enter App Manager and select App Manager.
2. Now click on New Connected App.

3. Now Enter the connected name app as sfdx-demo.
4. Enter your Contact email as your email address and Select Enable OAuth Settings.
5. Enter the callback URL : http://localhost:1717/OauthRedirect
6. Select Use digital signatures. To upload your server.crt file, click Choose File.

7. Now add the following permission for the oauth settings.
Manage user data via APIs (api)
Manage user data via Web browsers (web)
Perform requests at any time (refresh_token, offline_access).
8. Now click on save.
Edit Connected app policies
Now we will be editing the connected app policies to let user login without authorization.
Steps for the same are:
1. Go to Setup => Manage Connected Apps. Click on the App sfdx demo
2. Click Edit Policies.
3. In the OAuth policies section, for Permitted Users select Admin approved users are pre-authorized, then click OK.
4. Click Save.
Create a Permission Set for Connected App
Lastly, create a permission set and assign pre-authorized users for this connected app.
1. From Setup, enter Permission in the Quick Find box, then select Permission Sets.
2. Click New.
3. For the Label, enter: sfdx demo
4. Click Save.
5. Go to Manage Assignments | Add Assignments.
6. Select the checkbox next to your Dev Hub username, then click Assign | Done.
7. Go back to your connected app.
From Setup, enter App Manager in the Quick Find box, then select App Manager.
Next to sfdx demo, click the list item drop-down arrow (), then select Manage.
In the Permission Sets section, click Manage Permission Sets.
Select the checkbox next to sfdx sfdx demo, then click Save.
Setting up VS Code for the CI/CD
In the above steps we have successfully setup Salesforce , Bitbucket for CI CD.
Here in this section we are going to setup VS code for the CI CD.
In the above steps we have successfully created a Salesforce Project with the name sfdx demo. Open the sfdx demo Project in the VS Code and follow the steps below to create a Salesforce Project.
Create a keys folder in the sfdx-demo Project.
In the above steps we created server.crt, server.key files. We used server.crt file for the connected app. Here we are going to use server.key file. Place server.key file in the keys folder.
Testing the JWT Auth Flow
Enter the following command in the terminal to test the Authentication flow.
sfdx force:auth:jwt:grant –clientid “<connected app consumer key>” --username “<devhub username>” --jwtkeyfile “<Path to the server.key file>” --setdefaultdevhubusername --setalias sfdx-demo --instanceurl "<Instance URL>"
Command Description :
"<connected app consumer key>" => Place holder for Connected App Consumer Key
"<devhub username>" => Placeholder for username of user to whom we have assigned sfdx demo permission set
“<Path to the server.key file>” => Placeholder for server.key file Path Relative Path of the server.key file. It should be like “keys/server.key”
"<Instance URL>" => Placeholder for Salesforce Instance URL For Developer/Production Org the value is https://login.salesforce.com/, For Sandbox org the value is https://test.salesforce.com/.
Note : With above command you can log in to the Org in the terminal. Now you should be able to access sfdx commands to deploy/retrieve. The access is granted via Connected App. So the access will be limited to what access we are providing via the connected App.
Setting Up Bitbucket Variables
Go to Repository Settings => Repository Variables. Now follow the steps mentioned below to create needed variables.
Set Up CONSUMER_KEY, value is Consumer Key of the Connected App.
Set Up HUB_USERNAME, value is username of the dev Hub User. (User to which sfdx-demo permission set is assigned).
Set Up INSTANCE_URL, the URL for the salesforce Instance. For Developer/Production Org the value is https://login.salesforce.com/, For Sandbox org the value is https://test.salesforce.com/.
This is all for the Bitbucket Variables Setup
Configuring Bitbucket YML File
Create a bitbucket-pipelines.yml file in the project folder. Content of Bitbucket YML File can be copied from here.
Making First Commit, CI CD in Action
Now that we have successfully Setup Bitbucket CI/CD. Let’s start with the first deployment.
We need some files in the project to be deployed. For that go to package.xml file. Right click and Select SFDX: Retrieve Source from Org
Now use the following git commands to commit and Push.
git add .
git commit -m 'Commit Message’
git push
Once the data is pushed to the Bitbucket. The CI/CD pipeline will start to run. To check the CI CD Pipeline. Go to the Repository => Pipeline.
Example Screenshot

Congratulations, Now you have successfully Setup Git CI/CD Pipeline. Hurray !!!!

Comments
Post a Comment